How to Fix Pixelated Photos (Free Online Methods That Actually Work)
A practical guide to fixing pixelated photos — what causes pixelation, how AI depixelation works, four methods ranked by result, and the cases where no tool can help.
You saved a photo, opened it later, and the edges had turned into visible squares. Faces lost their detail, text went unreadable, and the whole picture looked like it was built from tiles. This guide covers how to fix pixelated photos in practice: what actually causes the blocks, which methods repair them, what results you can realistically expect, and the one situation where every tool on this list will fail.
If you only want the fix, drop your image into the free depixelation tool and compare the before and after. If you want to understand what is happening first, keep reading.
What pixelation actually is
A digital photo is a grid of pixels. Pixelation is what you see when that grid becomes visible — when there are too few pixels for the size you are viewing the image at, or when compression has flattened neighbouring pixels into uniform blocks.
That distinction matters, because "pixelated" is used for several different problems that need different fixes:
- Low resolution. The file is genuinely small — say 400 px wide — and you are viewing or printing it much larger. Each original pixel gets stretched into a visible square.
- Upscaling done badly. Someone enlarged the image with a basic resize. Naive resizing invents no new detail; it just makes the existing pixels bigger and blurrier.
- JPEG compression. Saving as JPEG discards data in 8×8 pixel blocks. Save, re-save, or push the quality slider too low, and those blocks become visible — especially in flat areas like sky or skin, where you also get colour banding.
- Messaging and social platforms. Chat apps and social networks re-encode uploads to save bandwidth. A photo that leaves your camera clean can come back from three forwards as mush.
- Deliberate censoring. Someone applied a mosaic or blur filter on purpose to hide a face, plate, or document.
The first four are repairable to varying degrees. The last one is not, and it is worth being clear about why before you spend time trying — see what no tool can fix below.
Method 1: AI depixelation (best results, no skill needed)
Modern image restoration uses AI super-resolution — the family of models described in research such as ESRGAN and Real-ESRGAN. These models are trained on pairs of images: a clean original and a degraded copy that has been blurred, shrunk, noised, and JPEG-compressed. From millions of those pairs, the model learns what real-world degradation does to edges, skin, fabric, fur, and text, so it can estimate what a sharper version of a damaged region most likely looked like, then redraw it.
That is the key difference from a sharpening filter. Sharpening only increases local contrast on the detail already present; it makes pixel blocks more obvious, not less. An AI model reconstructs plausible new detail, which is why it can clear compression artifacts instead of amplifying them.
Here is how to fix a pixelated photo with AI Depixelate:
- Open the tool on the homepage.
- Drag in a JPG, PNG, or WebP file up to 10 MB. There is no sign-up and no credit card step.
- Wait a few seconds. Most images finish quickly; larger files and busy scenes take longer because there is more area to reconstruct.
- Drag the before-and-after slider. This is the step people skip, and it is the only honest way to judge whether the result is better or just different.
- Download the result. It is returned as a full-resolution PNG, with no watermark, so the restored detail is not immediately thrown away by a second round of lossy compression.
Here is what that looks like on a compressed product shot — the pixel steps along the lens barrel and the blocky text are the artifacts being rebuilt:
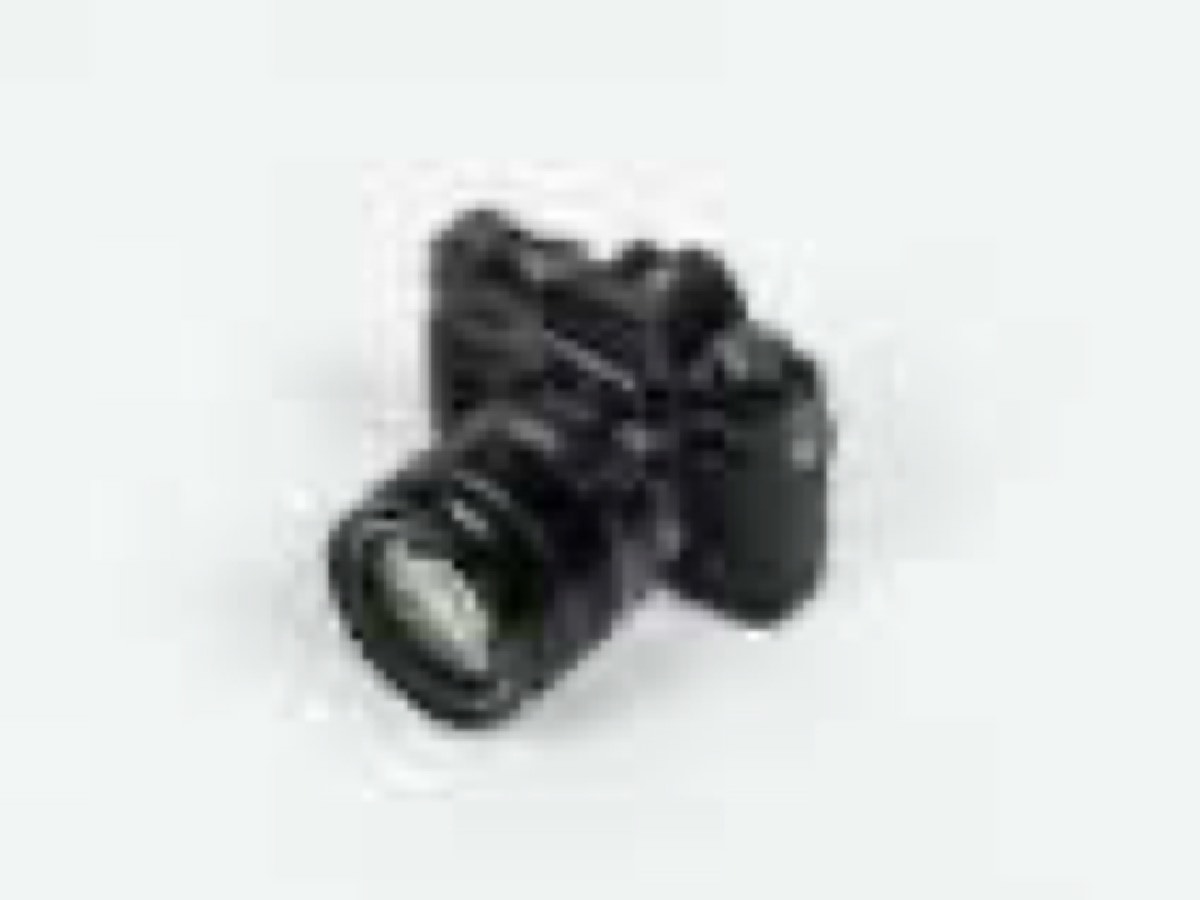
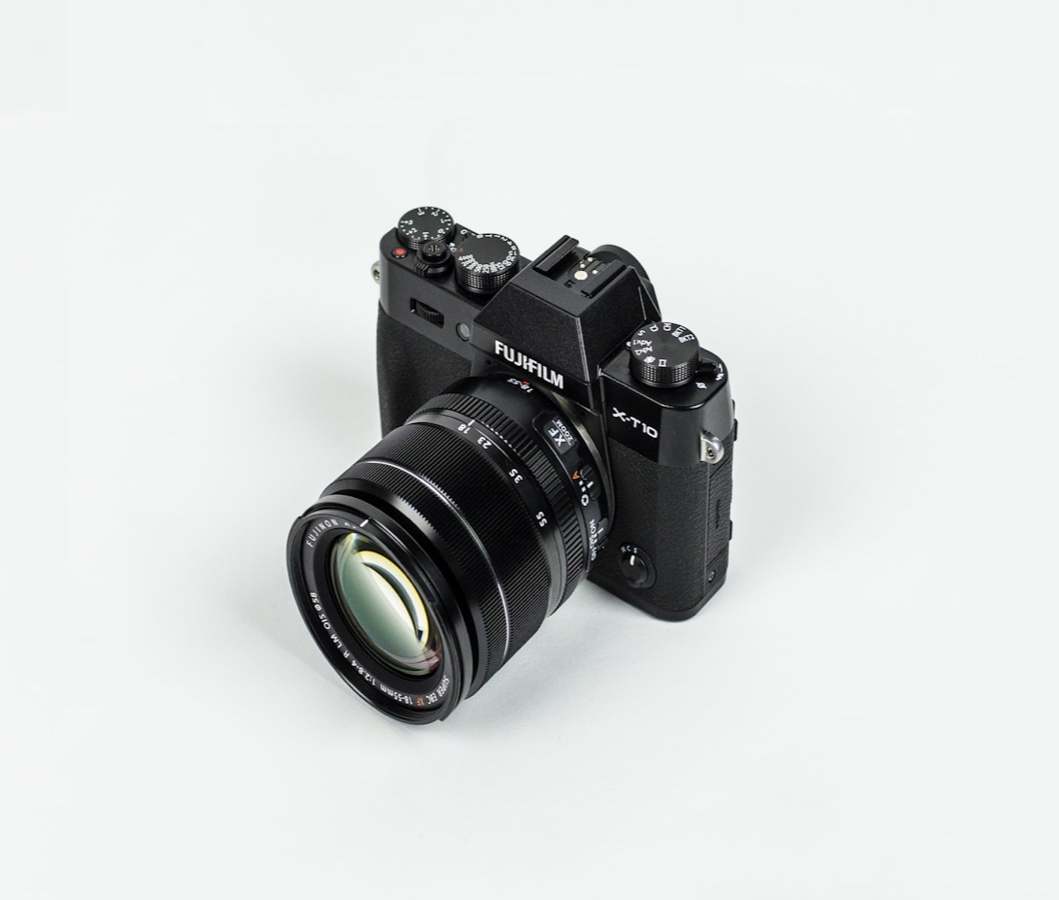
Uploaded and enhanced images are scheduled for deletion after 24 hours. You can see more worked examples in the examples section of the homepage, and the about page explains the model's limits in more detail.
Method 2: Desktop editors (Photoshop, Affinity, GIMP)
A desktop editor gives you the most control and the slowest path to a result. The workflow that works best:
- Reduce noise and artifacts first. In Photoshop,
Filter → Noise → Reduce Noise, and raise "Reduce JPEG Artifact". Do this before any sharpening, or you will sharpen the blocks. - Upscale with a good algorithm.
Image → Image Size, then choose "Preserve Details 2.0" rather than Bicubic. Enlarge in one step, not several. - Sharpen selectively. Use Unsharp Mask or Smart Sharpen at a low amount, and mask it so it applies to edges rather than flat areas.
- Blur what you cannot fix. A tiny amount of surface blur on skin and sky hides residual banding that sharpening would only highlight.
This is worth it when you need pixel-level control — retouching a single product shot for print, for example. It is a poor use of an afternoon when you have forty photos to clean up, and even done well it rarely beats a super-resolution model on a badly compressed file, because the editor has no idea what the missing detail should look like.
Method 3: Go back to the source
The best fix is the one that avoids reconstruction entirely. Before you process anything, check whether a better original still exists:
- Your phone's originals. Photos shared through chat apps are compressed copies. The full-quality file is usually still in your camera roll or cloud backup.
- Ask the sender for the original. Have them send it as a file or document attachment rather than as an inline photo, which is what triggers re-encoding.
- Screenshots vs. saved files. A screenshot of an image is a copy of a copy at screen resolution. If the original is on a website, saving the image directly is usually larger and cleaner.
- RAW files. If the photo came from a camera, the RAW file holds far more data than the exported JPEG.
No AI model can beat a file that was never damaged. Spend two minutes looking before you spend twenty minutes restoring.
Method 4: Mobile apps
Phone apps are convenient and vary wildly in quality. Most bundle depixelation into a general "enhance" button that also brightens, saturates, and smooths skin, so you cannot tell which change helped. Watch for three things: whether the app watermarks the output, whether it charges per export after a free first result, and whether it downsizes the file before processing. A browser-based tool avoids the install entirely and works the same on desktop, tablet, and phone.
What results to expect
Pixelation repair is not uniform. What you get back depends on how much real signal survived under the damage:
| Starting point | Typical result | How well it works |
|---|---|---|
| Low-resolution photo under 800 px wide | Defined outlines, readable shapes | Excellent |
| Heavily compressed JPG from chat or social media | Smooth gradients, artifacts largely removed | Excellent |
| Old scan or screenshot enlarged too far | Cleaner edges, restored surface texture | Good |
| Deliberately mosaicked or censored region | Smoother blocks, but no real detail returns | Not supported |
Portraits, pet photos, and product shots tend to improve the most, because faces, fur, and fabric are exactly the textures these models have seen most often during training.
What no tool can fix
AI depixelation is a visual enhancement, not a recovery. When a region is mosaicked, blurred, or reduced to a handful of pixels, the information that was there is gone from the file — it was not hidden, it was discarded. Anything a model draws into that area is an invention that fits the surrounding context, not the original truth.
In practice this means:
- You cannot read a censored licence plate, redacted document, or blurred face.
- You should not use enhanced output to identify a person or as forensic evidence.
- Even on ordinary photos, fine details are reconstructed rather than recovered. Individual hairs, jewellery, patterned fabric, and small text may come back subtly different from the real thing.
This is why the before-and-after comparison matters, and why it is worth checking the result at full size before you publish it. The FAQ covers these limits in more detail.
Getting the best result
A short checklist, in order of impact:
- Start from the largest, least-processed file you have. See method 3.
- Do not pre-sharpen. Sharpening bakes in the artifacts you are trying to remove.
- Process once. Running an already-enhanced image through again amplifies the model's inventions rather than adding detail.
- Save as PNG while you work. Re-saving as JPEG at each step re-introduces exactly the block artifacts you just removed. Convert to JPEG only at the final export, at high quality.
- Judge at 100%. An image that looks perfect zoomed out can show plastic-looking skin or smeared text at full size.
- Crop before enhancing if you only need part of the frame. Less area means the model spends its effort where you care.
Try it on your own photo
Theory only goes so far — whether a specific photo is recoverable depends on the photo. Upload yours to the free AI depixelation tool, drag the comparison slider, and decide for yourself. It is free, there is no account to create, no watermark on the output, and the file is scheduled for deletion after 24 hours.